Every new driver needs a signed contract before their first shift — a mandate, a car rental agreement, a B2B agreement or an employment contract. TwojaFlota generates it from your company's template straight from the driver's profile, with the driver's and company's data already filled in. This guide shows how to pick a contract type, check the data before generating, and where to find the finished PDF later.
Which contract types you can generate
The Contract type tab offers five options: Civil law contract (Polish document), Civil law contract, own car (Polish document), Car rental agreement (Polish document), B2B agreement (Polish document) and Employment contract (Polish document). The own-car variant only appears when the driver's profile has their own vehicle enabled.
1. Open the driver's profile and pick a contract type
- Go to Drivers → Driver list and open the driver's profile.
- Click Generate contract in the profile header.
- On the Contract type tab, choose the contract type and set the Contract date field.
2. Check the company, driver and vehicle details
The Company tab shows a Company details (Principal/Lessor) card filled in from your company profile — correct anything that has changed since the last contract. The Driver tab shows a Driver details (Contractor/Tenant) card with the PESEL number, date of birth, address and ID number taken from the driver's profile. Choosing Car rental agreement (Polish document) adds a Vehicle tab with a Vehicle details card plus Fixed weekly fee (zł) and Percentage of turnover (%) fields — 500 PLN and 8% by default, editable per contract.
While a required field is still empty, the dialog lists it under Required fields missing and the Generate contract button at the bottom stays disabled.
3. Fine-tune the text and check the summary
The Editor tab shows the contract text from your company's template with the actual values already filled in for placeholders such as {{driverName}} or {{companyName}}. You can edit the text of this one contract here without touching the company's default template. The Summary tab collects both sides of the contract — Principal/Lessor and Contractor/Tenant — on one screen so you can check everything before clicking Generate contract.
4. Download or print the finished contract
After clicking Generate contract, the panel opens a preview of the generated document with Download PDF and Print / Save PDF buttons — the second one is handy for printing two copies to sign right away.
The company's contract list
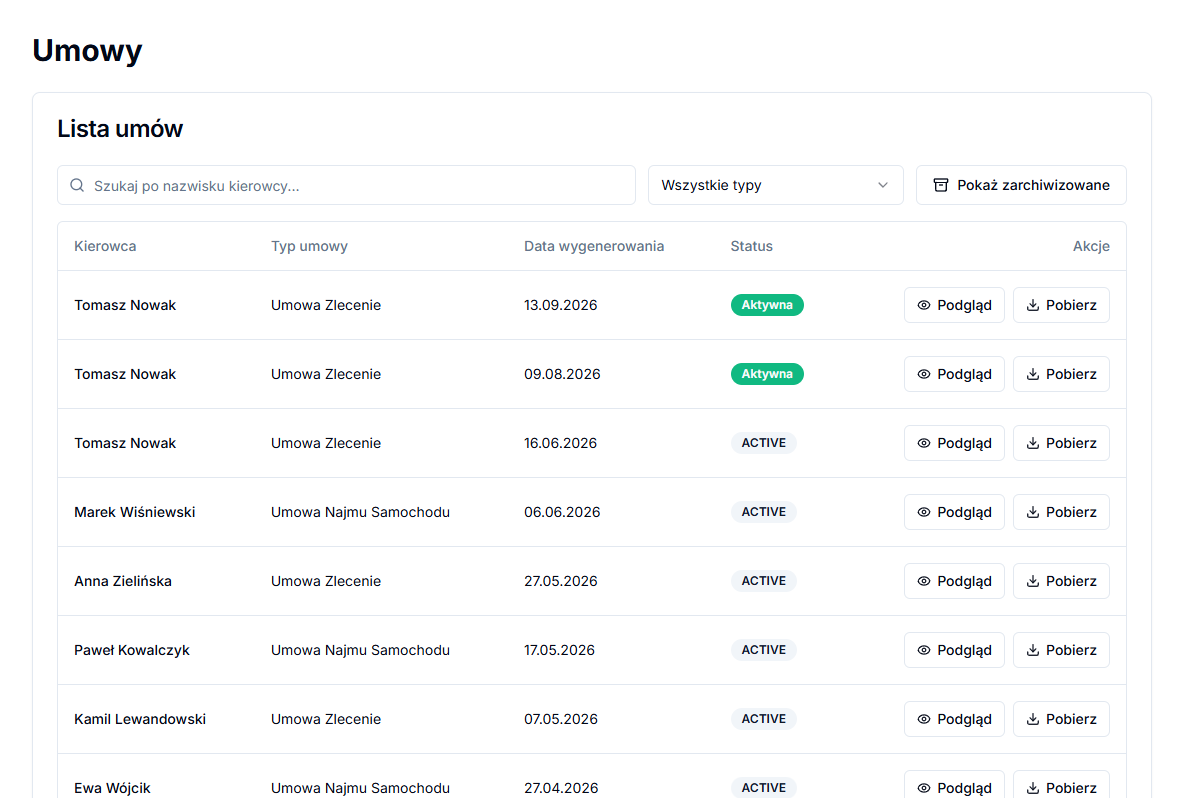
Every generated contract appears under Drivers → Contracts. Search it with the Search by driver’s last name... field, narrow it with the Contract type filter, and use Show archived to include contracts of removed drivers. The Status column marks each contract as Active or Archived, and each row has Preview and Download buttons — each entry lists its type using its short name, for example Contract of mandate or Car rental agreement.
Changing the default template text
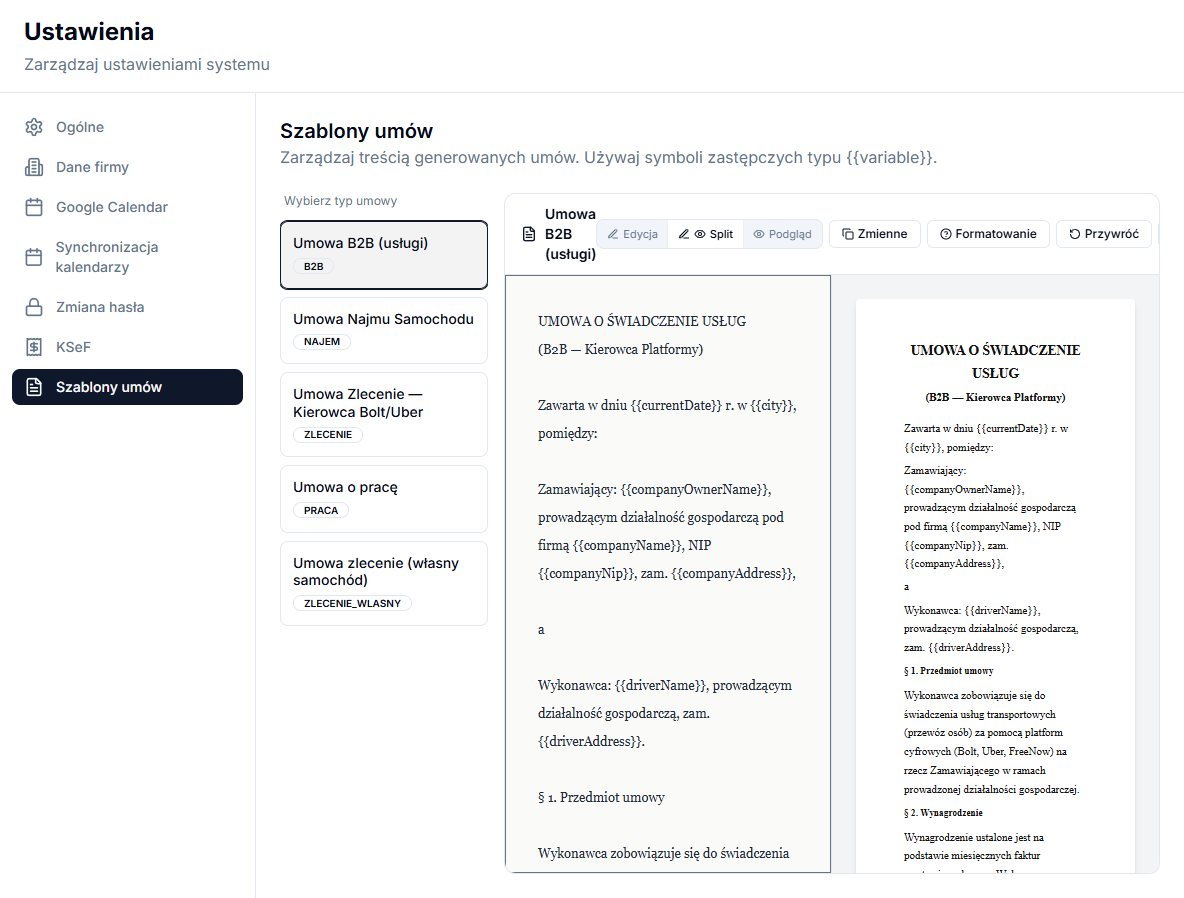
The text you see on the Editor tab for a new contract comes from your company's template, edited under Settings → Contract templates. Pick a type from the list on the left, switch between the Edit, Split and Preview views, and change the text in the editor. The Variables button lists the available placeholders — clicking one inserts it at the cursor — and Formatting reminds you of the heading and list syntax. Save stores your changes; Restore brings back the original template text.